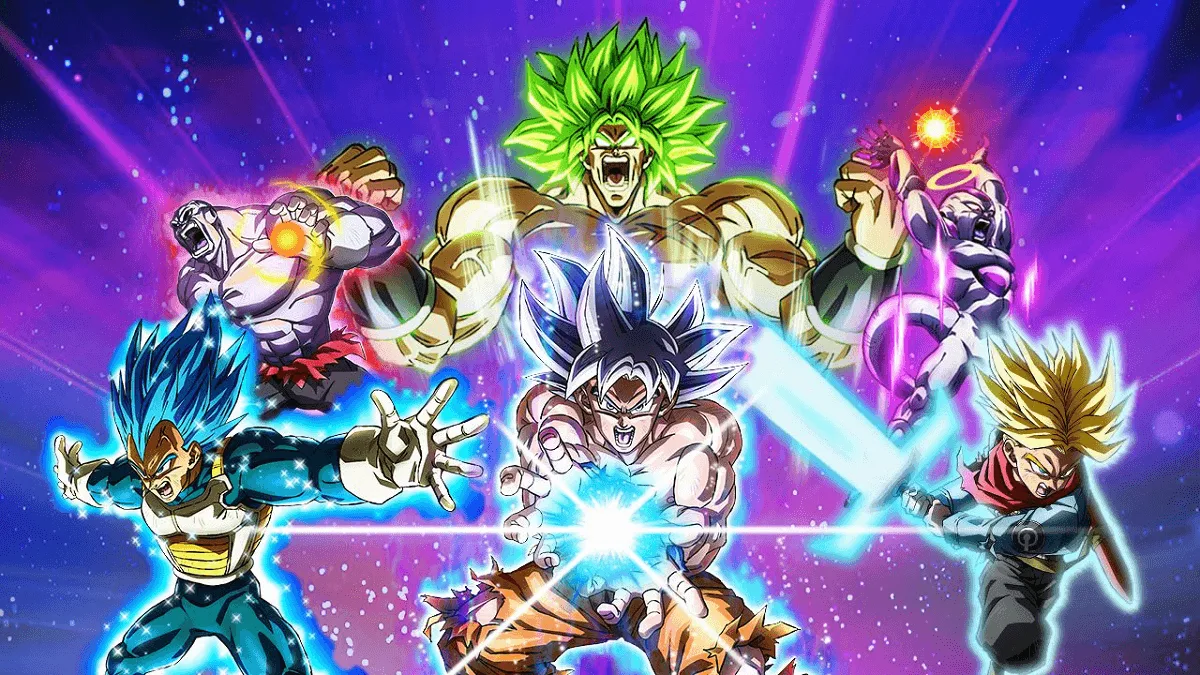
Why I Wish Someone Told Me These Things 50 Hours Ago
I’ll be brutally honest – I spent the first 20 hours of Dragon Ball Sparking Zero getting absolutely demolished online before I figured out what I was doing wrong. After watching my win rate hover around 15% for weeks, I finally decided to actually learn the game’s mechanics instead of just button-mashing and hoping Goku would carry me.
Now, after 100+ hours and finally achieving a respectable 60% win rate, I can look back at my early struggles and pinpoint exactly where I was going wrong. Dragon Ball Sparking Zero sold over 3 million copies in its first 24 hours, meaning there are millions of players going through the same learning curve I did.
The thing is, Dragon Ball Sparking Zero isn’t like Street Fighter 6 or Tekken 8. It’s an arena fighter with unique mechanics that feel intuitive once you understand them, but the game does a terrible job explaining its own systems. The tutorial covers the absolute basics, then throws you into matches, expecting you to figure out everything else.
Here’s what I learned the hard way:
- Character selection matters way more than tier lists suggest
- Ki management is the difference between dominating and getting dominated
- Defensive options are way stronger than new players realize
- Training mode secrets that the game never tells you about
Understanding the Absolute Basics (That Aren’t Actually Basic)
Ki Management: The Most Important Mechanic Nobody Explains
Every new player makes the same mistake – they spam super attacks the moment they have enough Ki, then wonder why they’re getting punished. I did this for my first 30 matches before someone in Discord explained how Ki economy actually works.
Ki management fundamentals:
- Don’t blow all your Ki on one super unless it’s guaranteed to hit
- Save 3-4 bars for vanish moves and defensive options
- Ki charging leaves you vulnerable – only do it when safe
- Blocking drains Ki – excessive blocking puts you at a disadvantage
The game-changing realization: having full Ki doesn’t mean you should immediately spend it. The threat of your super attack forces your opponent to play more defensively, which gives you openings for easier hits.
Example scenario:
- You have 5 Ki bars and your opponent has 2
- Instead of immediately throwing a super, pressure them with regular attacks
- They can’t escape with vanish because they lack Ki
- Land more hits, then use your super when they’re truly trapped
The Rush System Actually Has Depth
For the first month, I thought rush attacks were just “press square repeatedly and hope.” Turns out there’s actually strategy involved that drastically improves your success rate.
Rush attack tips:
- Mix up your timing – don’t just mash at consistent speed
- Watch for their vanish – if they escape, DON’T continue the rush
- Save one Ki bar during rush in case they counter
- Direction matters – angle your rushes toward obstacles for extra damage
Advanced rush technique: When initiating a rush, immediately after the first hit, pause for a split second. Most players will try to vanish immediately, wasting their Ki. If they don’t vanish in that first second, they probably don’t have the Ki to escape – that’s when you go all-in with the full rush combo.
Character Selection: Beyond Just Picking Your Favorite
Forget Tier Lists – Pick Based on Playstyle
I spent my first 50 hours trying to master “top tier” characters because that’s what everyone on Reddit recommended. My win rate was garbage. Then I switched to Android 17, a mid-tier character who matched my defensive playstyle, and suddenly started winning consistently.
Character categories that actually matter:
Rushdown Characters (Aggressive playstyle):
- Goku (Super Saiyan): Fast, high damage, easy to learn
- Vegito: Overwhelming pressure, requires good Ki management
- Hit: High-risk, high-reward with counter mechanics
Zoner Characters (Keep distance, use projectiles):
- Piccolo: Excellent for learning spacing fundamentals
- Cell: Great beam attacks and good all-around tools
- Frieza: Strong zoning but requires patience
Balanced Characters (Good for learning):
- Gohan (Teen): Solid in all areas, no major weaknesses
- Trunks: Straightforward moveset, effective at all ranges
- Android 17: Defensive options with counter-attack potential
Tank Characters (Absorb damage, punish mistakes):
- Broly: High health, armor on some moves
- Nappa: Slower but devastating when hits connect
- Android 16: Grappler-style gameplay
My recommendation: Pick someone from the balanced category first, learn the game’s systems, then branch out to specialists once you understand fundamental mechanics.
Understanding Character Sizes and Speed
This took me way too long to figure out – character size actually affects gameplay significantly beyond just visual differences.
Small/Fast characters (Krillin, Kid Goku):
- Harder to hit with some attacks
- Faster movement and combos
- Lower damage output
- Better for aggressive players who can maintain pressure
Large/Slow characters (Broly, Nappa):
- Easier targets for combos
- Slower startup on most moves
- Much higher damage per hit
- Better for patient, defensive players
Medium characters (Most of the roster):
- Balanced speed and power
- Easier to learn
- More forgiving of mistakes
Combat Fundamentals That Change Everything
The Vanish Mind Game
Vanish is the most overpowered defensive tool in the game, but only if you use it correctly. New players (including me for weeks) just spam vanish the moment they’re in trouble. That’s wrong.
When TO vanish:
- Enemy is mid-combo and you’re getting juggled
- Opponent is charging a super attack
- You’re trapped in the corner with no other escape
- Enemy is about to land a guaranteed finishing blow
When NOT to vanish:
- You’re at neutral distance (waste of Ki)
- Opponent hasn’t committed to an attack yet
- You have less than 2 Ki bars remaining (save for critical moments)
- Enemy is baiting your vanish with fake pressure
The bait technique: Start a combo, then deliberately stop mid-string. Good players will vanish expecting more hits – that’s when you punish their vanish with your own combo or super attack.
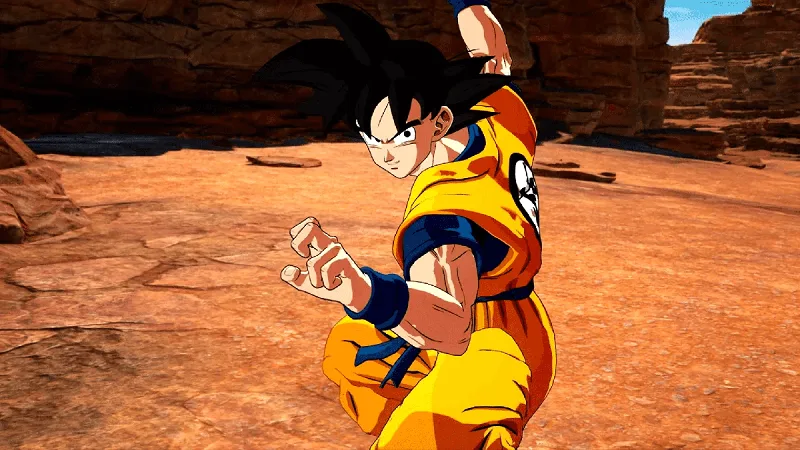
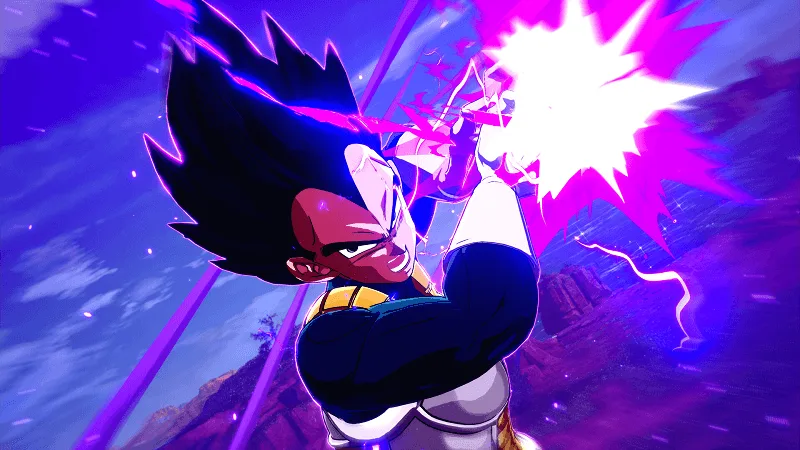
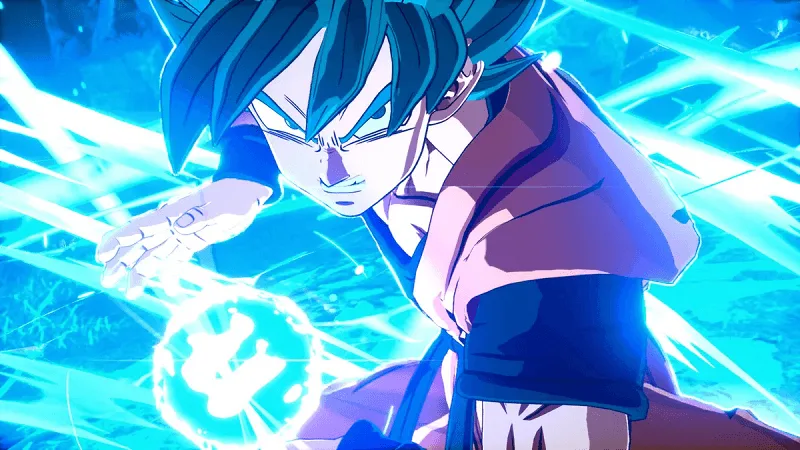
Screenshots:

Blocking vs. Dodging: The Crucial Difference
The game doesn’t explain this well, but blocking and dodging serve completely different purposes and cost different resources.
Blocking:
- Drains Ki while active
- Protects against most attacks
- Leaves you in disadvantaged state
- Can be broken by grabs
- Good for: Surviving super attacks, conserving positioning
Dodging (Sidestepping):
- Free action (no Ki cost)
- Makes you completely invulnerable briefly
- Can be used mid-combo against you
- Requires precise timing
- Good for: Avoiding beam attacks, creating openings
Pro technique: When blocking a rush attack, don’t just hold block – mix in sidesteps between hits. This burns less Ki and sometimes causes whiff punish opportunities.
Advanced Techniques for Intermediate Players
Combo Extensions Using Environment
Dragon Ball Sparking Zero quickly became the most-played fighting game in Steam’s history during early access, reaching over 90,000 simultaneous players, which means competition is fierce. Environmental awareness separates good players from great ones.
Environmental combo tricks:
- Walls: Bounce enemies off walls to extend combos (2-3 extra hits)
- Ground bounces: Slam downward near the ground for a bounce, continue combo
- Building destruction: Extra damage when smashing through structures
- Ring outs: Position enemies near boundaries for instant wins
Example advanced combo: Regular attack string → Ki blast → Follow-up dash → Wall bounce → Super attack → Ultimate finisher
This deals 40-50% more damage than the same moves without environmental extensions.
The Power Scaling System Explained
Here’s something the game NEVER explains properly: characters have power levels that actually affect matchups significantly.
Power level tiers:
- Low-tier (Krillin, Yamcha): 3-4 slots
- Mid-tier (Base Goku, Piccolo): 5-6 slots
- High-tier (SSJ transformations): 7-8 slots
- God-tier (UI Goku, Jiren): 9-10 slots
How this matters: In ranked matches with DP (Destruction Points) limits, you can’t just pick 5 god-tier characters. You need to balance your team or fight with a numerical disadvantage.
Smart team building:
- 1 god-tier character (your main)
- 2 mid-tier characters (backups)
- Balance totals to stay within the DP limit
Transformation Timing Strategy
Transformations look cool, but timing them correctly is crucial.
WRONG way (what I did for 40 hours):
- Transform immediately at match start
- Waste the transformation’s temporary power boost
- End up in base form during crucial moments
RIGHT way:
- Fight in base form until the opponent uses their transformation
- Transform to match or exceed their power level
- Use the transformation buff during decisive moments
- Transform during opponent’s knockdown (free transformation)
Pro timing: Transform right before landing a super attack. The transformation animation buffs your next move, and opponents can’t interrupt transformations.
Training Mode Secrets Nobody Talks About
The Combo Counter Trick
Training mode has a combo counter, but it doesn’t tell you if your combo is “true” (unavoidable) or if the opponent could escape.
How to test true combos:
- Set dummy to “Block after first hit”
- Perform your combo
- If dummy blocks mid-combo = NOT a true combo
- If full combo lands = True combo
This simple test saved me from using fake combos online that good players would punish.
Frame Data Without Numbers
Sparking Zero doesn’t show frame data explicitly, but you can test move safety easily.
Testing move safety:
- Set dummy to “Counter attack”
- Perform your move
- If dummy hits you after, = Move is unsafe
- If you can block dummy’s counter = the Move is safe
Test your favorite moves this way to know which are safe for pressure and which need Ki-canceling.
Online Play Tips from 500+ Matches
Connection Quality Matters More Than Skill
This sounds obvious, but it took me losing 20 matches in a row to figure out: don’t accept matches with connections worse than 4 bars. The lag makes execution impossible.
Connection optimization:
- Wired > WiFi always (reduces lag by 30-50ms)
- Close region matches only for ranked
- Check the opponent’s connection before accepting
- Ethernet adapter for PS5/Xbox (worth the $20)
Reading Your Opponent’s Patterns
After 500+ matches, I’ve noticed most players have predictable habits:
Common patterns:
- Vanish spammers: Bait vanish, then punish with combo
- Super attack predictors: Block first hit, punish recovery
- Rush mashers: Block first hit, counter with your own rush
- Defensive turtles: Mix in grabs to break their guard
My strategy: First 20 seconds of each match, I just play defensively and observe their habits. Once I identify their pattern, the match becomes way easier.
Ranked vs. Casual Mindset
In Ranked:
- Pick your best character only
- Play to win, optimize everything
- Learn from losses, save replays
- Take breaks after 2-3 losses
In Casual:
- Experiment with new characters
- Try risky strategies
- Practice specific techniques
- Have fun without stress
I was stuck in C-rank for weeks because I tried learning new characters in ranked. Once I separated learning (casual) from climbing (ranked), I hit A-rank within two weeks.
Also Read:
Monster Hunter Wilds Performance Issues Fix Guide 2025 | PS5 Pro
15 Best Cozy Games 2025 | Relaxing Gaming for Stress Relief
Common Mistakes That Cost Me 100+ Matches
Mistake #1: Playing Too Aggressively Early
New players (me included) try to rush down opponents immediately. This works against other beginners but gets punished hard by decent players.
Better approach:
- Start matches defensively
- Let the opponent make the first move
- Punish their aggression
- Take control once they’re low on Ki
Mistake #2: Ignoring Your Teammates in 3v3
I treated 3v3 matches like three separate 1v1s. Wrong. Your inactive characters provide support assists that can turn matches around.
Support mechanics:
- Call assists during combos for extensions
- Switch characters when low on health
- Use support attacks to cover unsafe moves
- Tag combos deal massive damage
Mistake #3: Not Using Practice Mode Enough
I jumped straight into online matches without practicing combos or testing characters properly. Big mistake.
Minimum practice routine:
- 10 minutes combo practice per session
- Test new character movesets before ranked
- Practice specific scenarios you struggle with
- Review the replay of your losses
Platform-Specific Tips
PC Performance Optimization
Dragon Ball Sparking Zero is currently sitting at over 122,000 concurrent players on Steam, but performance varies wildly across systems.
Settings for best performance:
- Resolution: 1080p for 60fps stability
- Shadows: Medium (huge FPS gain)
- Effects: High (minimal performance impact)
- V-Sync: OFF (reduces input lag)
- Anti-Aliasing: TAA (best quality/performance balance)
PS5 Controller Features
DualSense haptic feedback actually provides useful information:
- Light rumble: Enemy approaching
- Heavy rumble: Taking damage
- Adaptive triggers: Ki charge feedback
I turned these off initially, but found they help with situational awareness during chaotic team battles.
Xbox Quick Resume Caveat
Quick Resume causes matchmaking issues. Always close the game fully before starting a session to avoid connection errors.
The Bottom Line: Patience Wins
After 100+ hours, my biggest lesson is this: Dragon Ball Sparking Zero rewards patience and game knowledge over button-mashing and character tier lists. The difference between my 15% win rate at hour 20 and 60% win rate at hour 100 wasn’t mechanical skill – it was understanding the game’s systems.
Final advice for new players:
- Spend time in training mode (boring but essential)
- Pick ONE character and master it
- Focus on defense before offense
- Watch replays of your losses
- Don’t tilt – take breaks
The game clicked for me around hour 50 when I stopped trying to play like a pro immediately and focused on mastering fundamentals first. That’s when it transformed from frustrating to genuinely fun.
With over 5 million units sold, this community is massive and growing. Take your time learning, find your playstyle, and enjoy the journey. The satisfaction of landing that perfect combo or reading your opponent’s vanish is worth the learning curve.
